Building wooden houses will always be popular. This is due to the unique properties of the material, both operational and aesthetic. But when doing construction work with your own hands, you need to consider many nuances that will affect the durability of the walls and the entire building. One of the issues that need to be addressed will be the interior decoration of a wooden house.
Finishing Features
Finishing a wooden house, carried out from the inside with your own hands, should be done only after a thorough study of technology and methods. Sheathing walls is better with those materials that pass air well. You can use materials that are completely tight, but in this case the walls of the house will stop breathing.
The same rule should be taken into account when exterior decoration and insulation. If the wall covering material does not allow air to pass through, a greenhouse effect is created in the room. In this case, to ensure a normal microclimate, a forced ventilation device will be required. Such events require additional financial investments.
Also, the interior decoration of a wooden building with their own hands should be made of relatively light materials. In this case, finishing work from the inside will not have a strong effect on the walls and foundations (the load on them will not increase significantly).
When to start
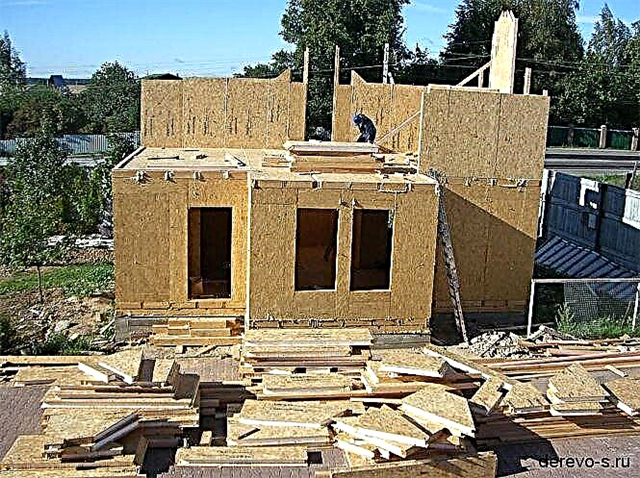
Finishing a wooden log house can only be done at the end of its active shrinkage. If we are talking about an old house, then proceed without fear. If the walls are recently built, it is necessary to take into account the material from which they are built:
- glued beam - after 3-4 months;
- ordinary timber and logs - after at least 1 year.
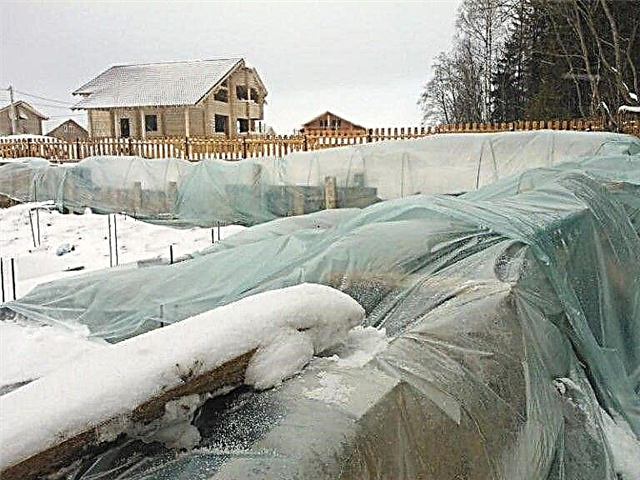
The exact speed of completion of shrinkage depends on the climatic features of the area. Air humidity and average temperature have a strong effect. It is allowed to start finishing the internal walls of timber and logs only after their caulking. DIY work is carried out in two stages:
- the first caulking of the walls must be carried out a few weeks after the assembly of the walls;
- the second is done in 6-8 months.
To pierce the walls, it will be necessary to prepare a sealing and heat-insulating material. As it is used jute or tow. Sometimes you can use moss. It is necessary to carry out work simultaneously from the outside and from the inside. Caulk start from the bottom. Having insulated the crown on one side, you must immediately go to the other side. Otherwise, the walls may skew.
After completion of the insulation work, the building rises a few centimeters. Over time, the interventional material will compact and the height will be the same. It is due to the tight fit of the jute or tow to the logs (timber) that drafts are prevented and thermal insulation indicators increase.
Read more about this in a special article on caulking of wooden walls.
After the second caulking, it is necessary to periodically measure the height of the walls. If the measurement results do not change within a couple of months, the shrinkage process has stopped. In this case, you can begin to do the finishing yourself.
Preparatory stage
Before starting work, it is necessary to decide if it makes sense to wall the walls from the inside. If they are folded neatly, and the interventional insulation does not stick out from the joints, lining is not required. It will be cheaper and better to use paints and varnishes.
If the walls have irregularities, and the seam of the hemp is unattractive, it’s worth considering the finish. Regardless of what materials are used, it is necessary to protect the wood from fungus and mold. For this, antiseptic formulations are used.
As an additional impregnation, flame retardants are used, they will increase the resistance of the material to fire.
Finish options
With your own hands, finishing a wooden house can be done in the following ways:
- clapboard (various forms);
- wall panels;
- drywall.
Under all materials, you will need to perform a frame on the surface of the walls. It is best made from wood. It is also possible to mount without a frame. But in this case, it is necessary to carefully align the base and eliminate all protruding elements. Sheathing on the frame is for the following reasons:
- no need to level the base;
- providing clearance for air circulation and wall drying;
- the ability to lay insulating material;
- You can hide the wiring.
The disadvantages of this method include the likelihood that insects or rodents will settle in the gap between the wall and the skin. To get rid of unwanted guests in this case will be quite difficult.
Do-it-yourself cladding of a wooden house should be done with a small gap between the ceiling. It is necessary for leveling various deformations and shrinkages. The width is taken 2-4 cm. Close the space easily ceiling skirting.
Lining
Wall decoration in this case has the most diverse appearance.
You can use material of different widths, from different species of wood. The types of lining are also distinguished depending on the transverse profile:
- standard
- blockhouse;
- softline;
- landhouse;
- American;
- etc..
Fixing the finish to the wall surface with your own hands is done in several ways:
- on nails into the face (now less and less used due to aesthetic reasons);
- on nails or screws at an angle;
- on the clammers.
The last two methods are quite laborious. The fasteners are nailed so that there is no damage to the front surface of the lining. Instead of nails and screws, a construction stapler with brackets is also used. In this case, staples with long legs and a narrow back are required. Fasteners are made of stainless steel.
Lining is made of wood, therefore, just like a wall, it can shrink. It is better to buy chamber drying material, but if this is not possible, the following points should be considered:
- over time, the planks of natural drying dry out, cracks appear between the trim elements;
- you can leave the surface as it is;
- for aesthetic reasons, you can remove the lining and nail it again;
- at the initial fixing it is necessary to take into account that the cladding will have to be removed, it is important to choose what will be more convenient to work with: with nails or screws.
When removing material from the base, care must be taken to prevent damage to the walls.
We recommend that you read the detailed article about decorating the house with clapboard.
Wall panels
This option allows you to diversify the interior and give a unique appearance to the room. Designers are very fond of these types of finishes; the flight of imagination is practically unlimited.
Finishing a wooden house from wall panels with your own hands can be of different types:
- wooden;
- bamboo;
- MDF;
- glass;
- plastic;
- leather.
When using glass, care must be taken. Such material is quite massive and can have a strong effect on the supporting structure of the building. It is not recommended for use with a small thickness of wall fencing.
Mounting is carried out in accordance with the manufacturer's recommendations. The lining can be attached directly to the crate, or to a substrate mounted on the crate. The methods are quite diverse depending on the material, before buying it is worth exploring the features of each individually. We also recommend that you read articles about decorating the interior with panels in wood, brick, stone.
Drywall Application
Decorating a drywall wooden house is common. Wall cladding can be done quite easily, but the following rules must be observed:
- Drywall is not a durable material. It is easy enough to damage it at break. For this reason, it is recommended to perform the lining 2-3 years after construction. In this case, the building must comply with normal operation (heating must be turned on).
- When lining the device for 1-2 years after construction, it is necessary to mount drywall on a floating frame. This will prevent damage: the base and finish will move independently of each other.
- To prevent or slow the opening of cracks in problem areas, it is required to glue them with a reinforcing mesh. For work, a mesh of polymer material is taken. The main places of reinforcement: joints, seams and corners.
Fastening sheets is carried out on the frame. If possible, it is worth using bars and slats made of wood. When using a metal light profile, you must not forget about waterproofing: according to the rules at the junction of materials with different characteristics and humidity properties, a waterproofing device is required. We also recommend that you read the article about decorating the walls and ceilings of a wooden house with plasterboard.
Old wooden house
When performing work inside the old building, it is necessary to first assess the condition of the walls and perform a set of protective measures. All suspicious areas on the walls are checked for strength. To do this, you can use a screwdriver, knife or chisel. Zones with the following features are recognized as suspicious:
- darker than the main surface;
- lighter than the main surface;
- different texture;
- different density.
If the wood crumbles, it is recommended to consult a specialist, who, depending on the nature and scale of the damage, will tell you the further procedure. Even if there are no defects on the surface, it is necessary to treat the base with an antiseptic.